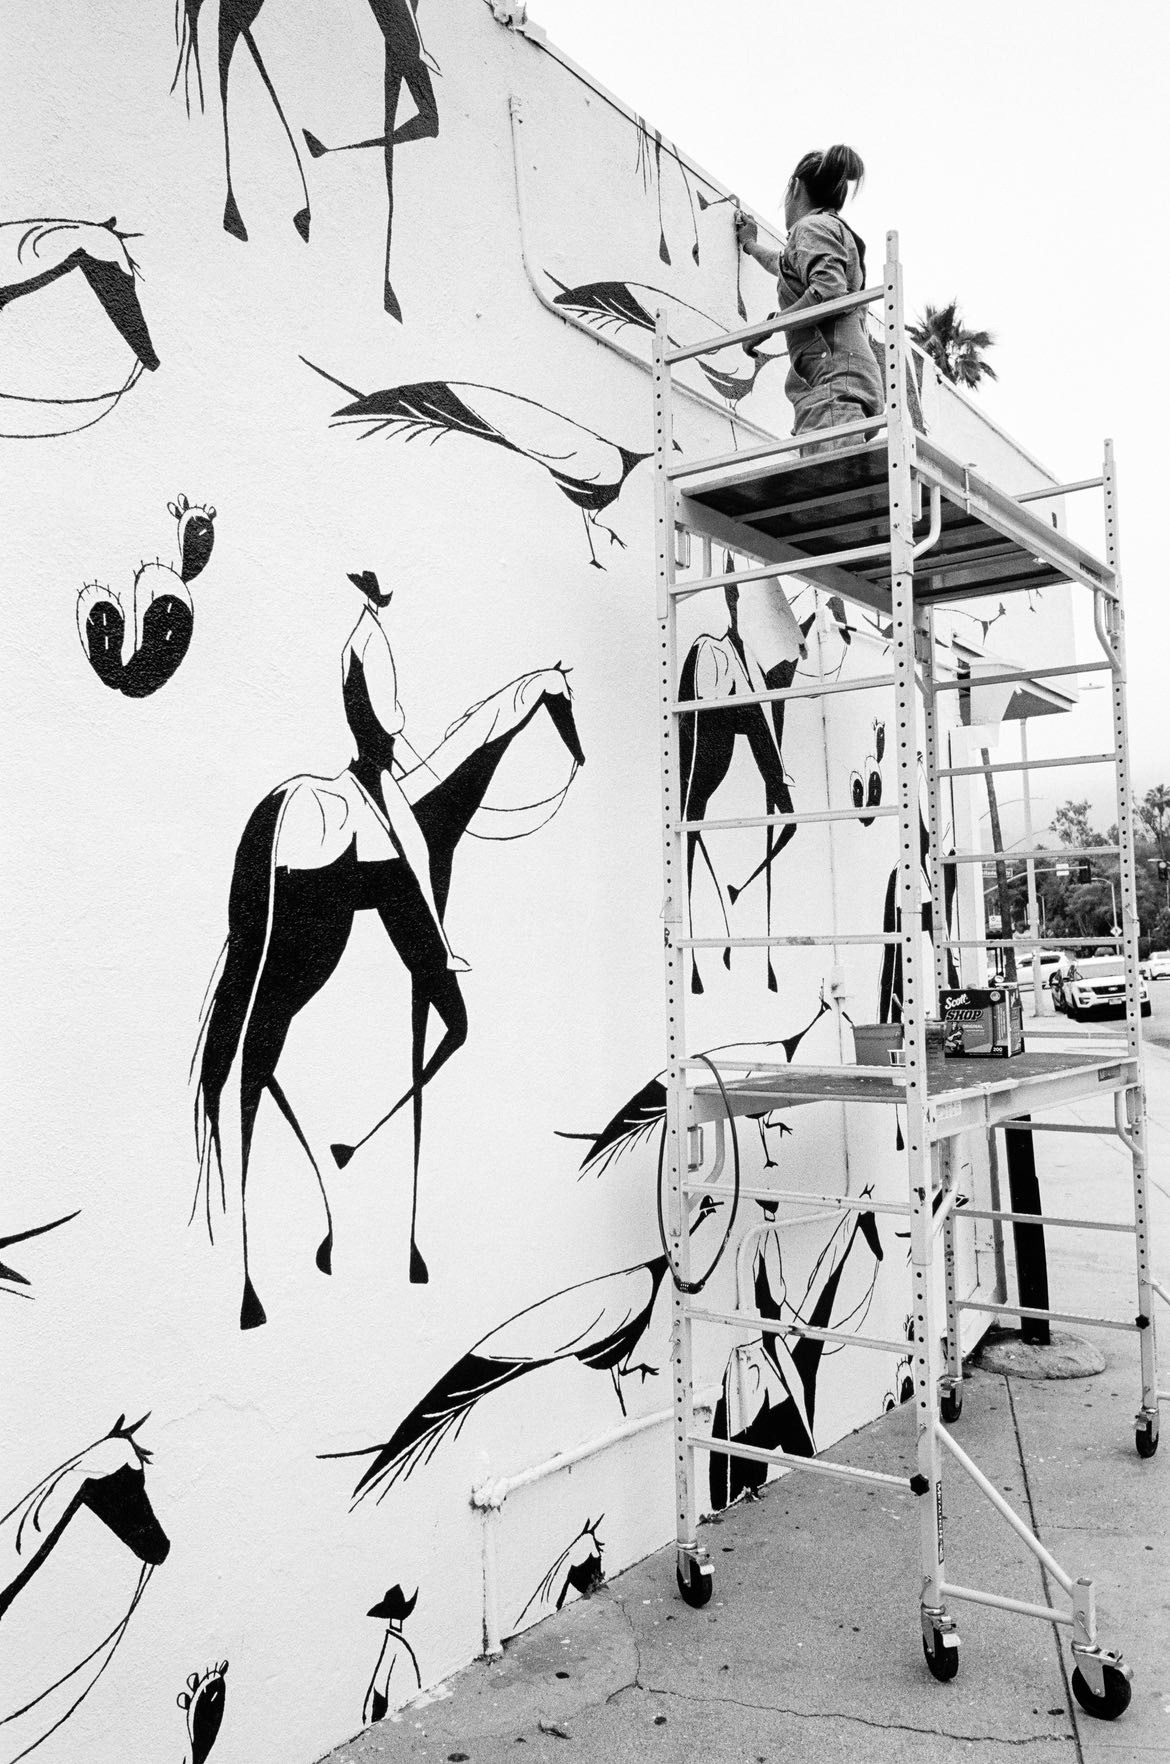
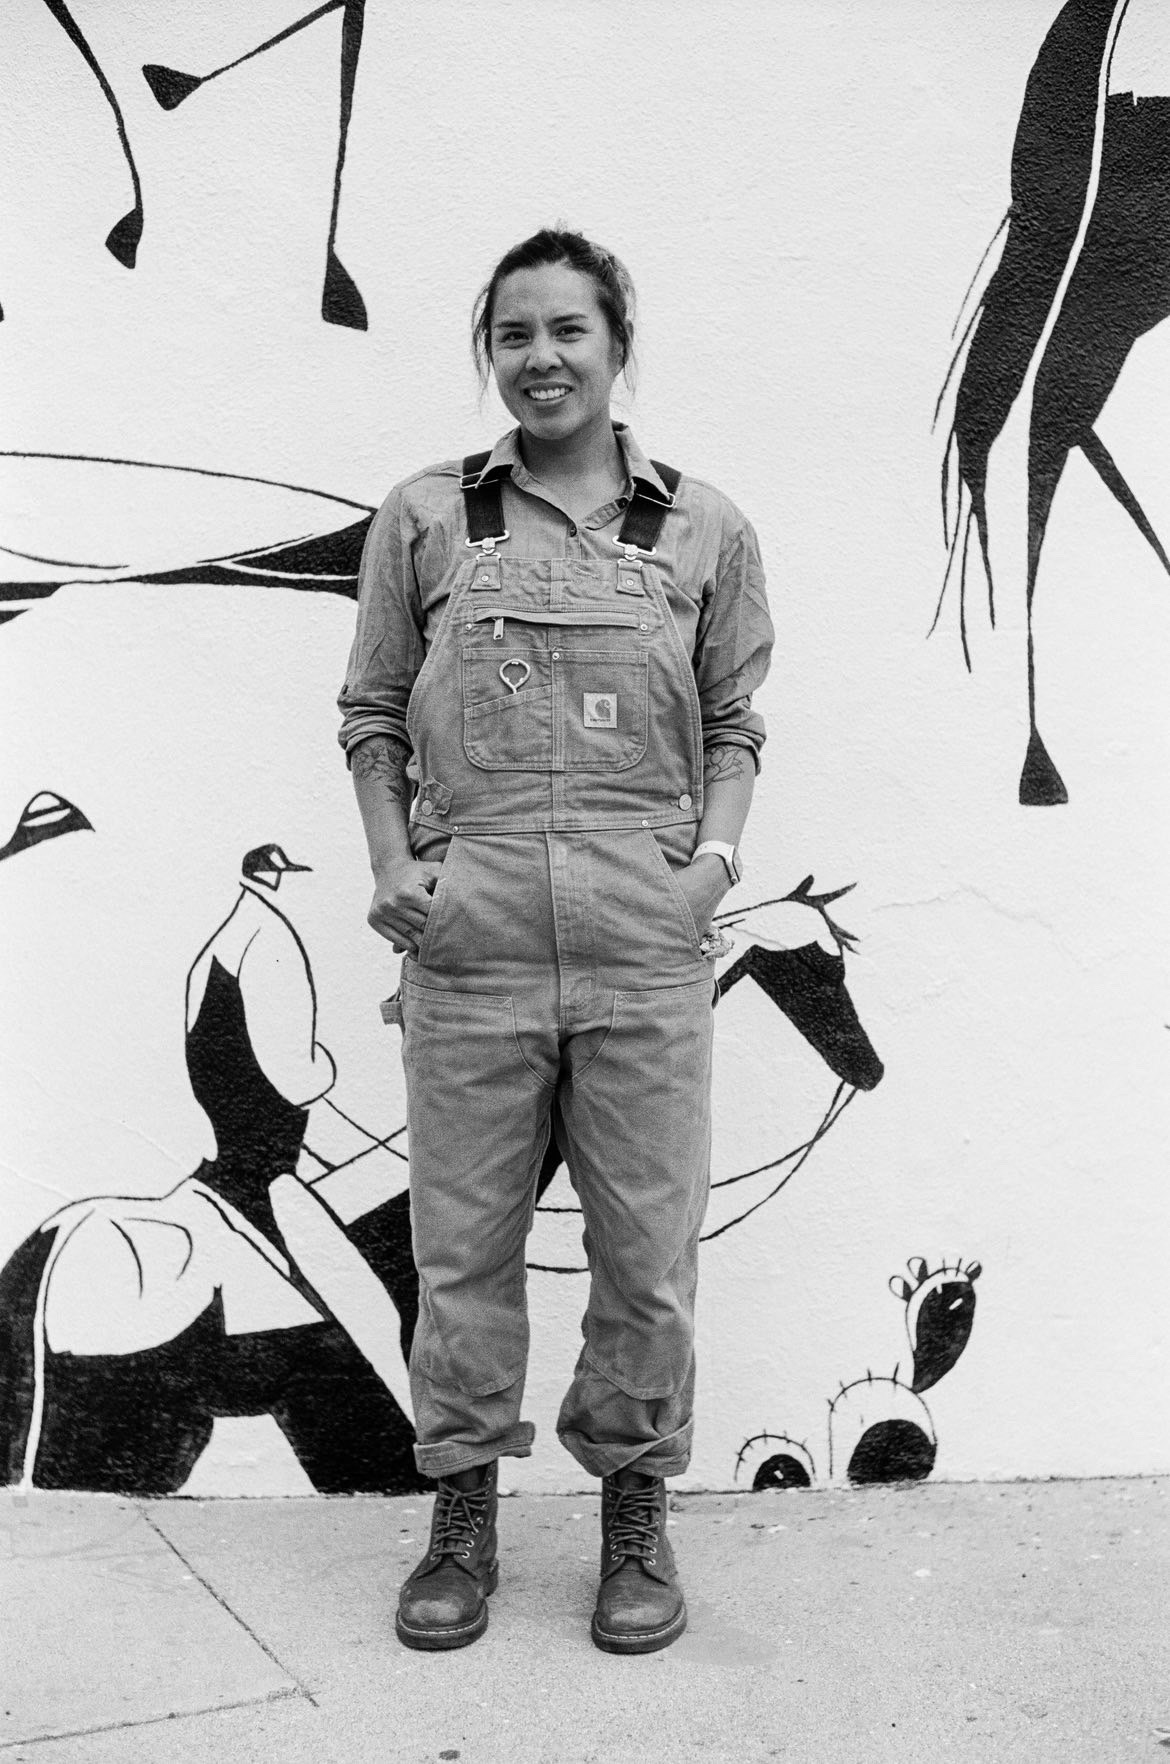
Photo credit for B&W flim scans: Kevin Pazo @i_leica_a_lot
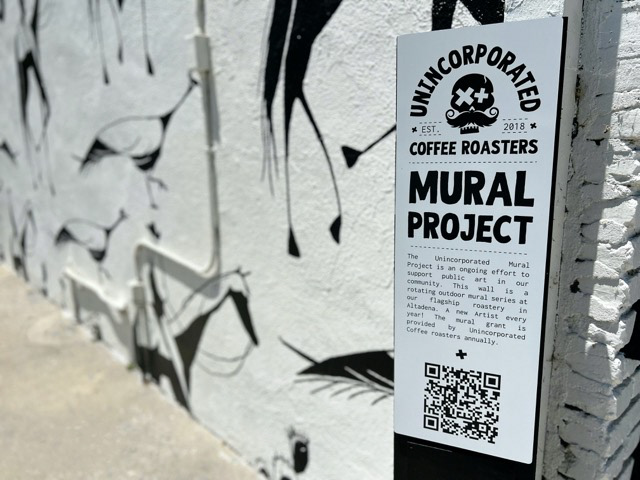
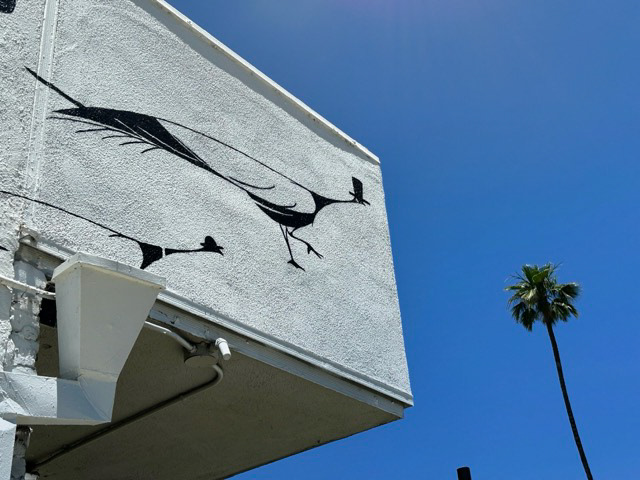
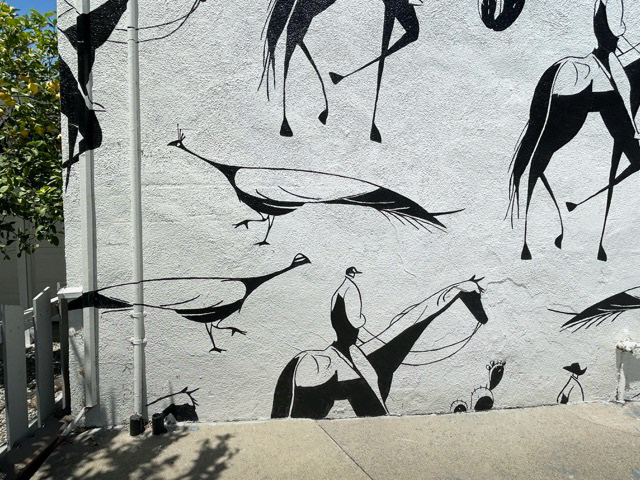
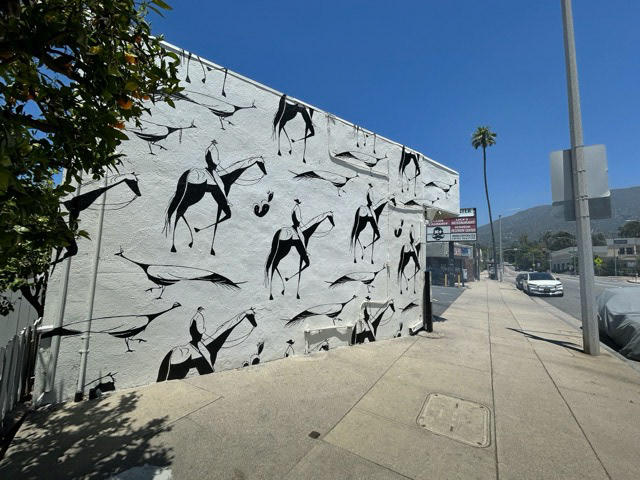
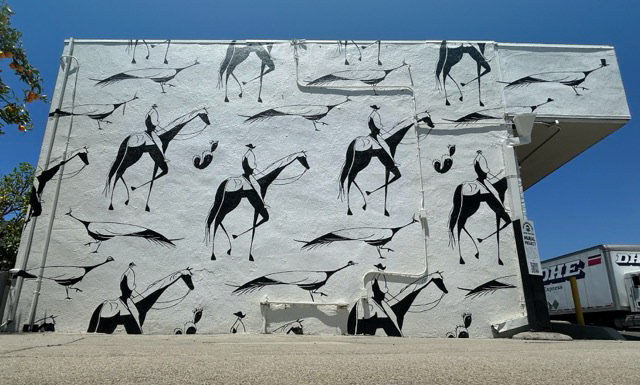
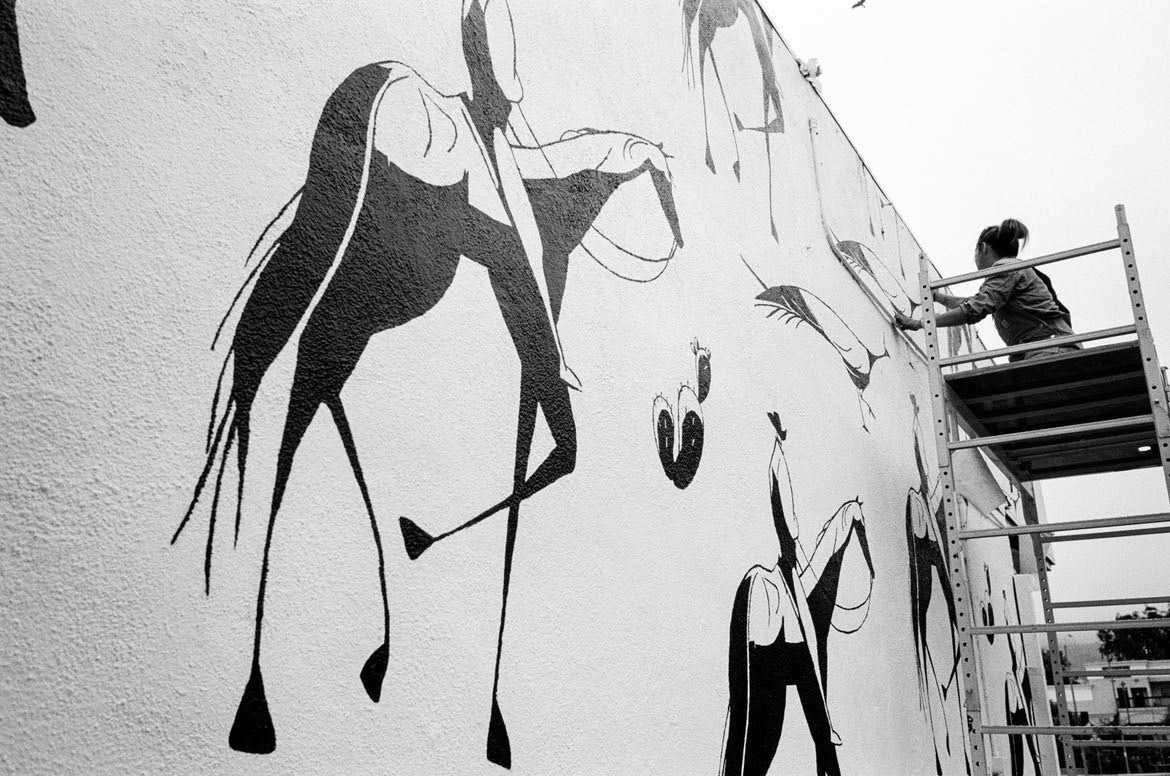
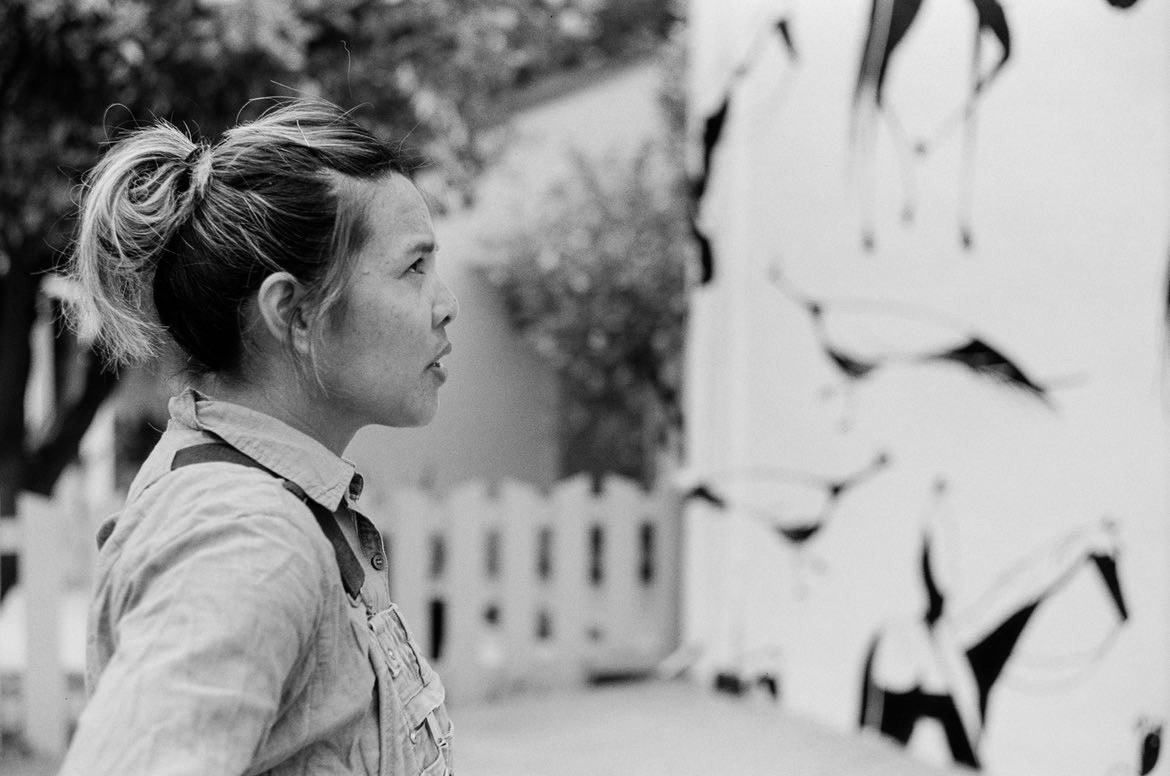
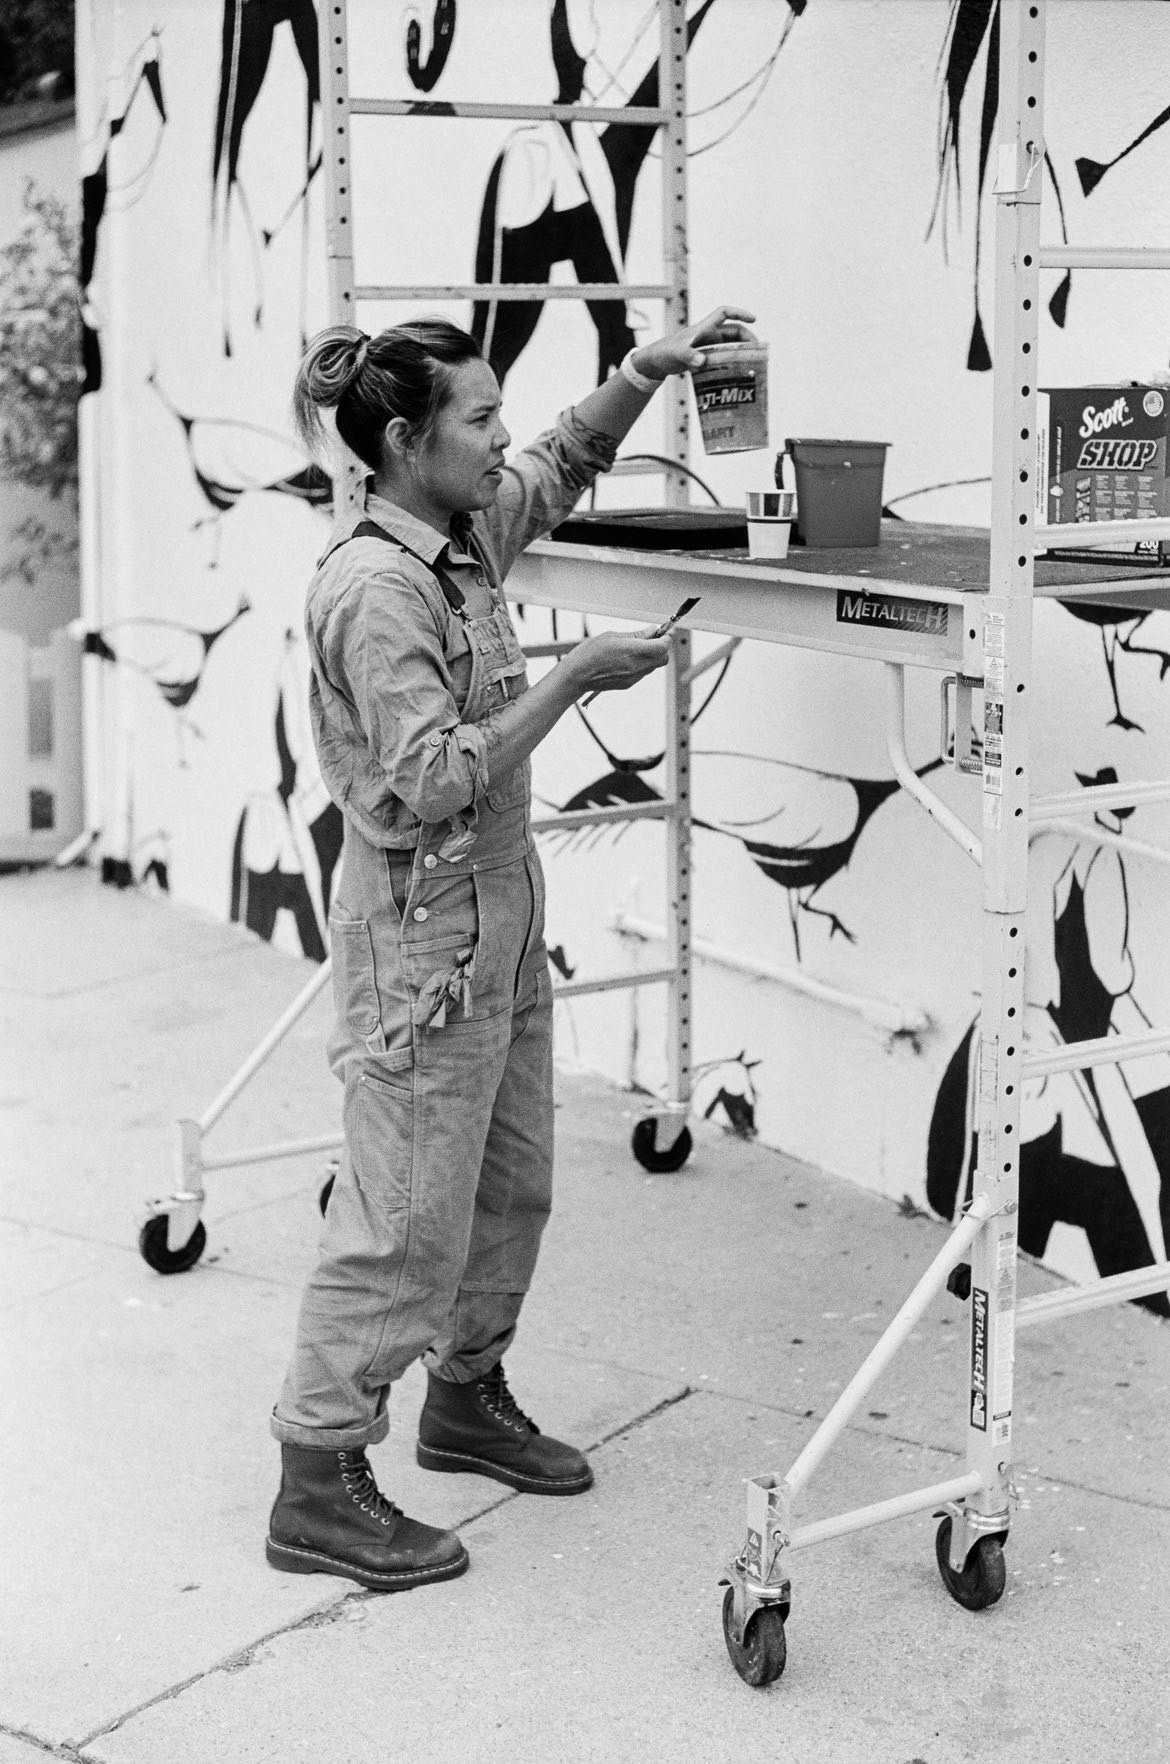
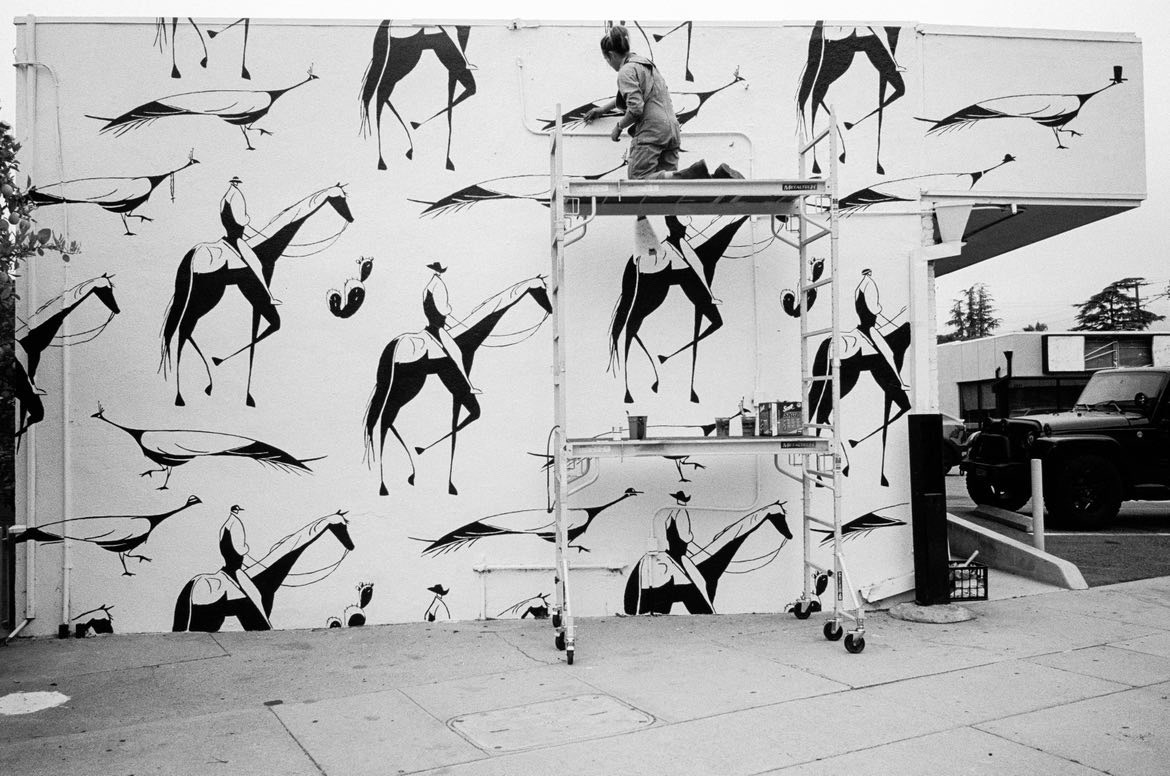
"Caballeros & Peacocks" mural was a collaboration with concept artist, Josh Viers, for a wall in Altadena, CA. Using elements from the neighborhood and artistic inspiration from Eyvind Earle and Tadahiro Uesugi, the elongated proportions, and simple shapes are meant to conjure mindfulness and peace.